
Last updated November 22, 2026
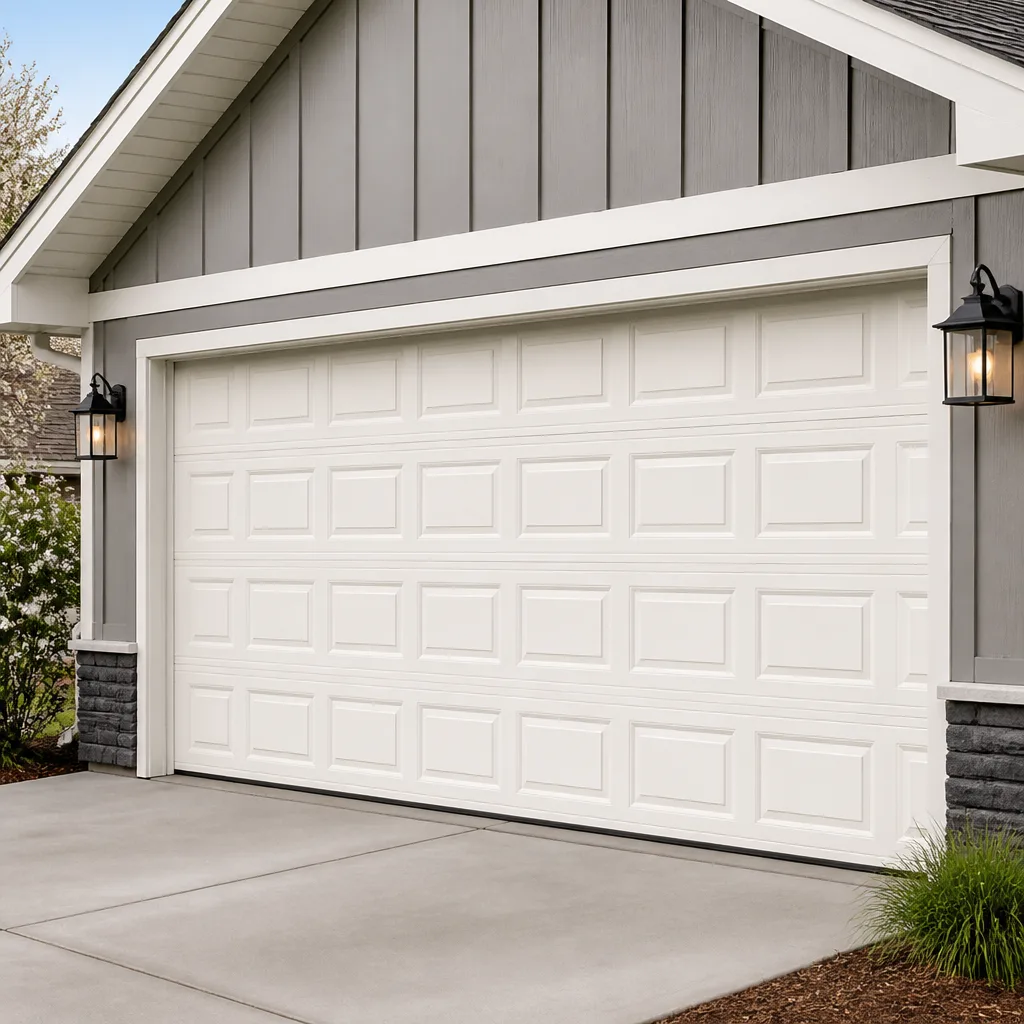 Raised-panel steel
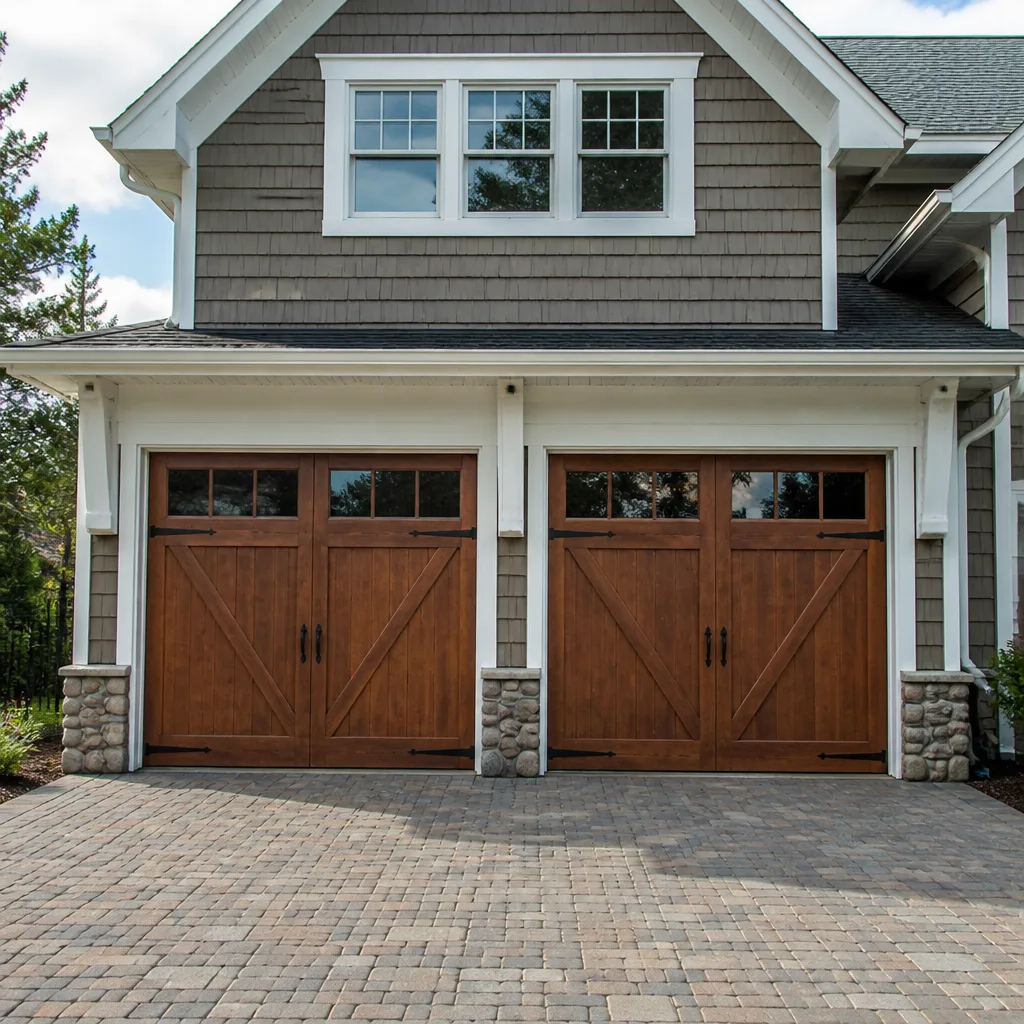 Carriage house
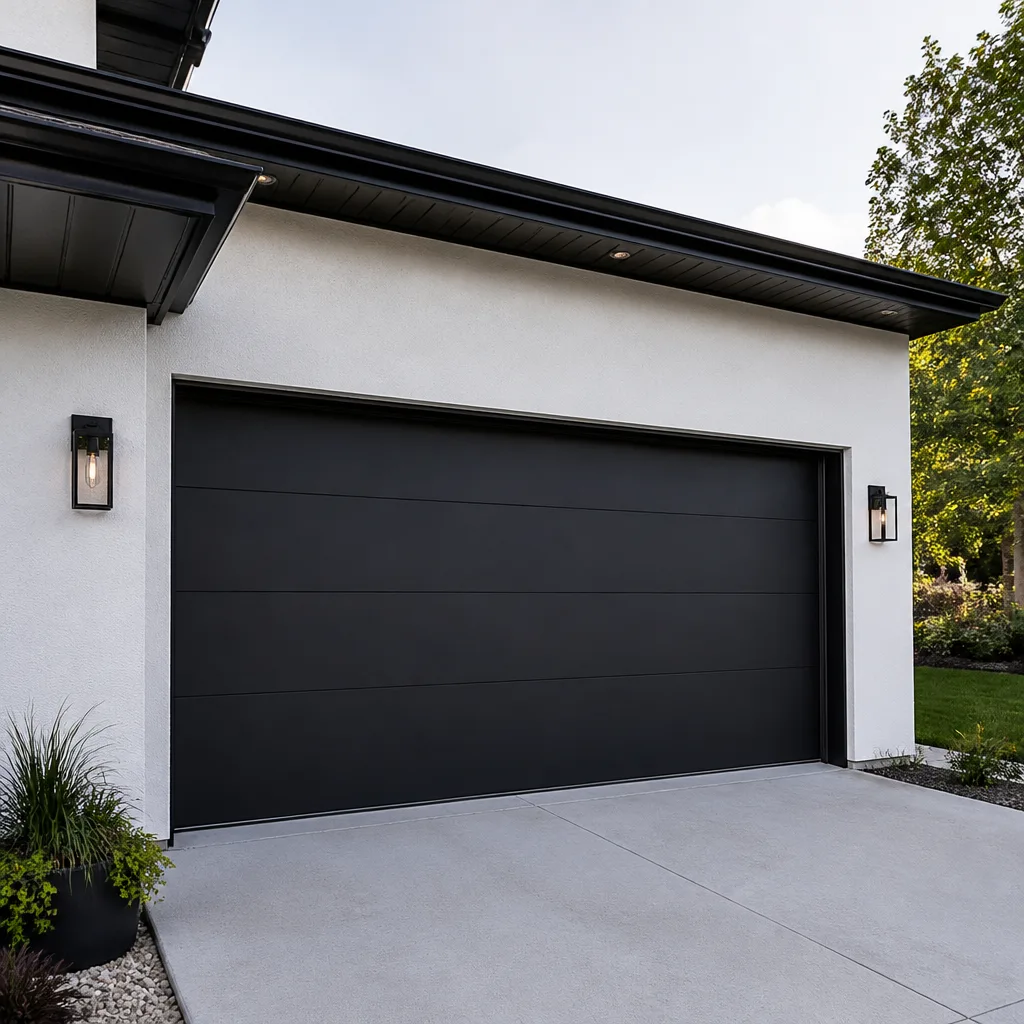 Modern flush
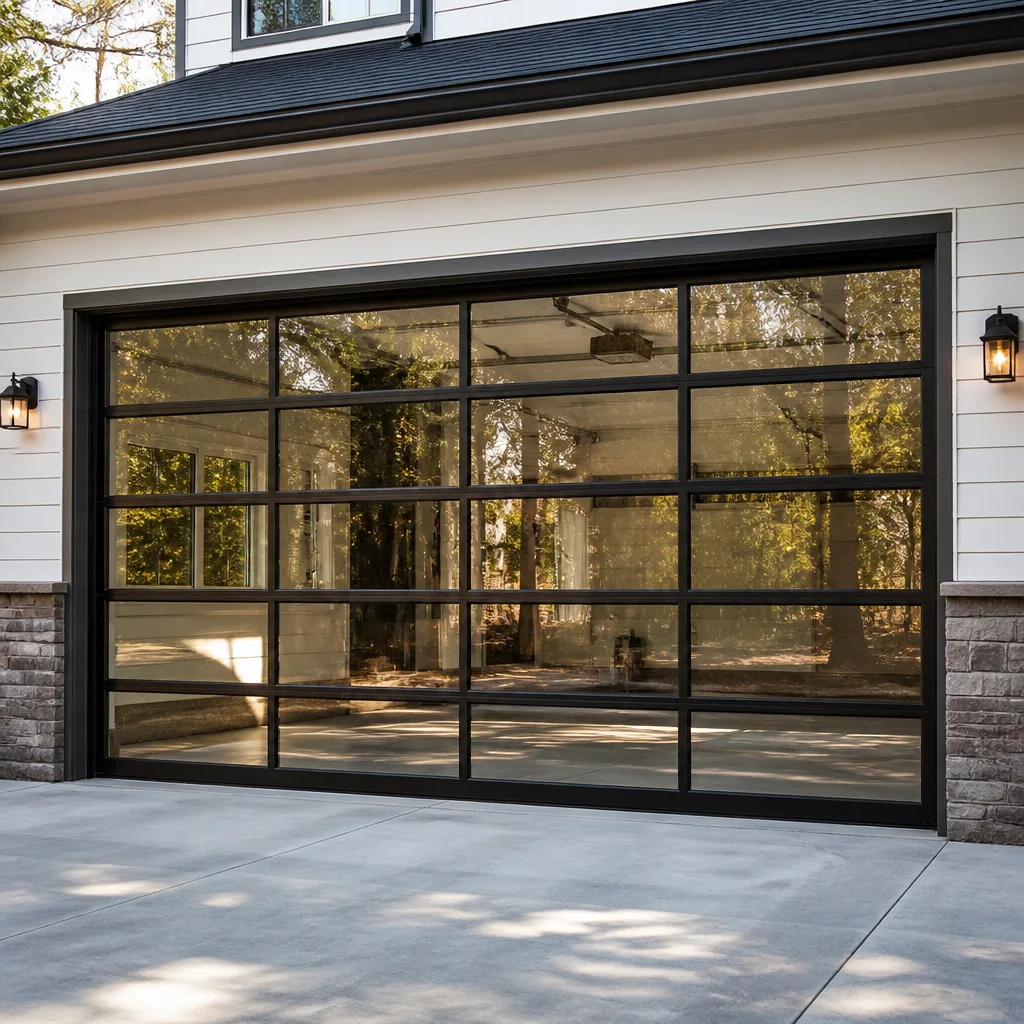 Full-view glass
 LiftMaster openers
 Chamberlain openers
Full 25-point door and opener safety check with every visit - springs, cables, rollers, tracks, and your LiftMaster or Chamberlain opener included
You get a price before we start. It does not change when the pro arrives.
Get your free estimateGarage Door Repair Maintenance Checklist for Eldersburg Homeowners
The most common emergency call we get in Eldersburg comes in February, and it almost never starts with something breaking suddenly. It starts with a small lubrication skip in October that compounds through three months of hard freezes, and by the time the door is groaning and stalling, the damage has been building for a season. Most maintenance checklists ignore that rhythm. They hand you a generic quarterly template that treats every month the same, which is exactly backwards for a place that swings from humid August afternoons to single-digit January nights. This guide is sequenced around the real calendar a Carroll County garage door lives through, names the five components most homeowners never think to inspect, and shows you the 90-second safety test most opener manuals bury in the fine print. Along the way we’ll tell you what to check yourself and what to leave to a trained technician.
Quick Answer
A garage door maintenance checklist for Eldersburg homeowners should be timed to local seasons: inspect and lubricate in fall before the first hard freeze, watch weatherstrip and drainage through winter and spring thaw, and check balance, rollers, and safety sensors as temperatures climb in summer. The single most important task is the opener’s force test, which takes about 90 seconds and confirms the door will reverse on contact. Anything involving torsion springs, cables, or the bottom bracket is a professional job, not a DIY one.
Styles & brands we work with
- Raised-panel steel
- Carriage house
- Modern flush
- Full-view glass
- LiftMaster openers
- Chamberlain openers
Table of Contents
- Why an Eldersburg Calendar Beats a Generic Quarterly Checklist
- Fall: The Lubrication Window That Prevents Winter Breakdowns
- Winter: Freeze-Thaw, Ice Dams, and Weatherstrip Stress
- Spring: Thaw, Moisture, and the Balance Check
- Summer: Heat, Rollers, and Sensor Drift
- The Five Components Homeowners Almost Always Skip
- How to Run a Proper Force Test on Your Opener
- Lubrication Matchups: What Gets What, and What Gets Nothing
- The Maintenance Log That Protects You Later
- Common Mistakes to Avoid
- When to Call a Professional
- Frequently Asked Questions
- The Bottom Line
Why an Eldersburg Calendar Beats a Generic Quarterly Checklist
A garage door doesn’t fail on a schedule. It fails when a specific set of conditions pushes a specific part past its tolerance, and in Eldersburg those conditions arrive with the seasons. A door that sits in a heated garage in a mild climate may run for years with almost no attention. The same door here fights humidity in late summer, a first hard freeze in November or December, an ice-and-thaw cycle through February, a wet March thaw, and then a stretch of heat and humidity again. Each of those transitions puts load on different hardware.
That’s the reason the generic “check quarterly” advice falls flat. A quarterly checklist tells you to inspect the door four times a year, but it doesn’t tell you that the most valuable inspection lands in the fall, before the cold sets in. It doesn’t warn you that weatherstrip corners are most likely to split after a freeze-thaw cycle, or that rollers tend to get noisy in summer heat. Sequenced to the local calendar, the same handful of tasks does far more work.
Two more local realities shape the checklist. First, many Eldersburg neighborhoods sit among mature trees, and the fall leaf drop that makes the area look great also drops debris and grit into door tracks. Second, garages here tend to serve as the primary entry point for a lot of homes, which means the door cycles many times a day rather than sitting idle. More cycles means faster wear on rollers, hinges, and springs. A door that opens four times a day asks far more of its hardware than one that opens once.
So the checklist below is organized the way the year actually treats a garage door in Eldersburg, from the October lubrication window to the summer balance check. You can run the homeowner-safe tasks yourself. The rest we’ll mark clearly so you don’t put yourself in a dangerous spot.
Fall: The Lubrication Window That Prevents Winter Breakdowns
If you do one round of maintenance a year in Eldersburg, make it the fall round, and make it before the first hard freeze. This is the timing that prevents the February call. Cold doesn’t break a healthy door; cold exposes a neglected one. When grease and lubrication dry out over summer, the moving parts start grinding instead of gliding, and that friction goes up sharply once the metal contracts in the cold.
Here’s the fall sequence we’d work through on any door:
- Lubricate the moving parts. Hinges, rollers, and the torsion spring coils get a light coating. Use the right product (see the lubrication section below); this is not the place for whatever’s in the garage.
- Clear the tracks. Wipe down the inside of the vertical and horizontal tracks with a damp rag to pull out grit and leaf debris, then dry them. Don’t lubricate the tracks themselves.
- Test the balance. Disconnect the opener and lift the door halfway. It should hold there without drifting. If it slams down or creeps up, the spring tension has drifted and needs a professional look.
- Run the force test. This is the safety check described further down. Do it now, before cold puts extra load on the reversing mechanism.
- Check the weatherstrip and bottom seal. Look for cracks, gaps, or corners pulling away. A seal that’s already failing will let cold air and meltwater in all winter.
- Test the safety sensors. Wave an object through the beam and confirm the door reverses. A sensor that’s drifted will get worse in cold weather.
- Listen. Run the door once with the opener disengaged and once with it engaged. New noises, squeaks, or grinds tell you where to look.
The fall window matters because lubrication applied in October is at its freshest when the cold arrives. Grease applied in December is already working against a shop that got dry over the summer. Timing it right is the difference. If a door is running on garage door spring repair territory already, lubricating won’t save it, but a technician can tell you in a few minutes whether the spring is due.
Winter: Freeze-Thaw, Ice Dams, and Weatherstrip Stress
Winter in and around Eldersburg is a freeze-thaw cycle, not a steady deep freeze, and that pattern is harder on a garage door than the cold itself. Water gets into small gaps and corners during the day, freezing overnight and expanding. The parts that suffer most are the bottom seal and the weatherstrip corners, which can split and pull away after one hard winter. A door that seals well all winter also protects everything you store in the garage from moisture.
A few winter checkpoints:
- Watch the bottom seal. If you can see daylight under the door or feel cold air, the seal is either compressed or cracking. This is the most commonly ignored seal on the whole door.
- Check weatherstrip corners. Corners take the most stress from freeze-thaw. Peel back the edge gently; if it’s brittle or torn, plan a replacement.
- Keep the tracks clear of ice. Snowmelt running down the driveway can refreeze in the track and bind a roller. Clear the tracks after a melt, and never chip at ice in the track with a metal tool.
- Don’t force a frozen door. If the door is frozen shut, don’t overpower the opener. That’s how opener gears and drive assemblies get damaged. Free the seal first, or call for help.
- Listen for a change in sound. Cold makes a healthy door a little louder. A sudden new grind or thump is a warning worth acting on.
On clear, mild winter days, it’s worth running the door a few extra times to keep everything moving and let you spot new noises early. If the seal is failing, a fresh bottom seal is one of the least expensive fixes on the whole door and one of the most rewarding in February. When a winter problem turns into a stuck door or a security concern, our Garage Door Repair Eldersburg team can come out; the price is set per job by a written estimate you get before any work starts.
Spring: Thaw, Moisture, and the Balance Check
By early spring in Eldersburg, the meltwater from a winter’s worth of freeze-thaw is working its way into concrete and around door frames. That’s the right time to check for moisture problems and to rebalance the door after a season of thermal cycling. Springs and cables don’t care that winter ended; the tension that was set in October is still there, but the door has been through months of cold contraction and expansion, and small changes add up.
Spring maintenance priorities:
- Re-run the balance test. Disengage the opener, lift the door to the halfway point, and let go. A balanced door holds. One that drifts down needs attention.
- Re-run the force test. Same 90-second check described below. Reversal on contact is the safety standard every opener is built around.
- Check the bottom of the door and the garage floor for signs of pooling or dampness. Meltwater that sits against the door seal accelerates rot on wood panels and rust on steel ones.
- Inspect hinges and roller brackets for rust spotting. A little surface rust is normal; heavy rust at the hinge plates means moisture is reaching them.
- Recheck the safety sensors. Re-align if the beam was knocked during winter.
Spring is also when grit from a winter of road salt and sand has been tracked into the tracks. A quick wipe-down restores smooth movement. If your door is a wood-panel or wood-composite model, spring is the time to look at the finish on the panels, because winter moisture finds any spot where the paint has failed. For an honest read on whether a noisy, aging door needs garage door repair or is simply due for a tune-up, a technician can diagnose it in person.
Summer: Heat, Rollers, and Sensor Drift
Summer heat is gentler on a garage door than winter cold, but it brings its own checks. Heat causes expansion, and expansion can loosen hardware that was snug in the cold. It’s also the season for humidity, which is exactly what rust wants. Eldersburg’s warm, humid summer afternoons are a good time to look at metal parts for early rust and to listen for rollers that have gone noisy.
Summer tasks:
- Check roller wear. Nylon rollers can develop flat spots or start rumbling. Steel rollers can rust and bind. If the door is louder than it used to be, rollers are a prime suspect.
- Re-lubricate the moving parts lightly. A light summer touch-up keeps things quiet and smooth through the humid stretch.
- Test the opener’s safety reverse and force settings again. Heat can affect the opener’s settings and the sensor alignment. Don’t skip the force test just because it passed in spring.
- Look at the spring coils for visible gaps, rust, or a stretched look. Springs under tension are off-limits for DIY, but you can visually inspect them from below. A rusted or gapping spring is a call for a professional.
- Check hinges and bolts for loosening. A quick visual and a gentle wiggle of hinge bolts tells you a lot.
If you have a LiftMaster or Chamberlain opener with a smart-home feature like myQ, summer is also a good time to confirm the app still connects and the door reports the correct open or closed state. Connectivity issues are usually a small fix and worth catching before you rely on a remote check while you’re away. Our garage door opener repair service covers both the mechanical and the connected side of the major brands.
The Five Components Homeowners Almost Always Skip
Most of the advice you’ll find online focuses on springs, rollers, and tracks. There are five components that virtually nobody mentions because they’re out of sight or awkward to reach, and they’re the ones that cause some of the most avoidable failures. Every one of these deserves a line in your checklist, even if the actual work goes to a technician.
- Cable drums. These sit at the top of the door on either side and guide the lift cables. They rarely get attention, but they can drift out of alignment or develop wear. If they do, the cable gets pulled unevenly and the door tilts. These are tension-bearing parts and are never a DIY item. A professional inspects them; you just note “cable drums – check” on the log.
- Bottom bracket bolts. The bottom bracket holds the lower corner of the door and the lower cable. Its bolts can loosen over seasons of cycling, and a loose bottom bracket is one of the more dangerous conditions on a door because it’s under cable tension. Whoever inspects the door should check the bottom bracket bolts every visit, and never touch the bracket or the cable while it’s tensioned.
- Torsion spring set screws. On a torsion setup, the spring is mounted on a shaft held by set screws in the winding cones. Over time those small screws can loosen, which lets the whole assembly drift. A technician checks them on every service. A homeowner’s job is only to know this part exists and to put it in the log so it gets checked.
- Roller stems. Notice the word stems, not rollers. Everyone thinks about the roller wheels, but each roller sits on a stem that goes through the hinge plate. Stems bend and wear, and a bent stem binds the roller even when the wheel is fine. Next time a technician has the door apart, ask him or her to check stems along with rollers.
- Weatherstrip corners. The corners of the seal are where water gets in, where ice rocks the strip back and forth, and where you’ll spot a failing seal first. Most people check the middle of the door and skip the corners. Get down and look at both bottom corners specifically.
Put these five on a sticky note and stick it to your garage wall. They’re the “invisible” parts of any maintenance plan in Eldersburg, and catching them early is the cheapest insurance you can add to the door.
How to Run a Proper Force Test on Your Opener
The force test is the single most important safety check on a garage door, and it takes about 90 seconds. It confirms the opener will reverse when the door meets resistance, which is what keeps a door from closing on a child or a pet. Most opener manuals mention it only in fine print, if at all, which is why it gets skipped. Here’s how to do it correctly:
- Clear the doorway. Make sure nothing and no one is in the path of the door.
- Stand clear and run the door closed. Use the wall control and watch the full travel of the door.
- During the close, push gently upward on the bottom edge of the door with one hand. The door should reverse direction immediately. If it keeps pressing down, the force setting is too high and needs adjusting.
- Test the safety sensors separately. With the door on its way down, wave an object through the sensor beam near the floor. The door should reverse. If it doesn’t, the sensors are misaligned, dirty, or faulty.
- Repeat with the mechanical release test. Pull the emergency release handle so the opener disengages, then lift the door manually to confirm it moves freely. If the door feels heavy or binds, the balance is off.
- Note the result in your log. Write the date and pass/fail next to it so you can spot drift over time.
The force setting gets adjusted with a small screw on the opener itself, usually labeled “force” or “sensitivity.” Adjust it one step at a time and re-test after each change. If the door still fails or the setting bottoms out, the opener may need service. Don’t crank it down to the minimum just to make the test pass; the setting has to be low enough to reverse on contact but high enough to move the door reliably.
Craftsman and Raynor openers alike follow this same test. If the opener reverses inconsistently or the sensor won’t stay aligned, that’s a call to a professional. We answer 24/7 and dispatch from 7am to 7pm, Sunday through Friday, for these checks.
Lubrication Matchups: What Gets What, and What Gets Nothing
Lubrication is where a lot of well-intentioned maintenance goes wrong. The wrong product on the wrong part does more harm than good, and one product in particular gets misused more than any other: WD-40. That isn’t a garage door lubricant. It’s a penetrating solvent with light oil, and on a torsion spring it can strip away the manufacturer’s factory-applied lubricant and leave the steel dry. Springs that run dry snap sooner. Use the right product for each part and you’ll get years of quiet operation.
Here’s the matchup we recommend:
- White lithium grease – the workhorse for most moving metal. Use it on hinges, roller stems, the torsion spring’s coils, and the opener’s screw or chain drive (check your opener’s manual for its specific recommendation). It stays put and it’s thick enough to hold up to the cycles.
- Silicone spray – for parts where you don’t want a sticky residue. Use it on hinges you want to stay quiet and on the weatherstrip and bottom seal to keep them pliable through the seasons. It also works well on the tracks to keep them slick without attracting grit.
- WD-40 (the classic formula) – on springs and hinges and moving hardware, skip it. It’s a good penetrating oil for loosening a rusted bolt, but not a garage door lubricant. Using it where a real grease belongs is the single most common lubrication mistake we see.
- Nothing at all – on the tracks. The inside surface of the track should stay clean and dry. Grease or oil on the tracks attracts grit and debris, which actually increases wear on the rollers. Wipe the tracks clean and leave them bare.
- Graphite or a dry lubricant – good for the lock mechanism and for rollers that need a dry film. Do not mix it with a lithium grease on the same part, because the mix turns into a gummy mess.
Lubricate in the fall, not the middle of winter. The grease you apply before the first hard freeze works best when the cold arrives. If you’re unsure which products suit your opener, check your manual or ask the technician at your next service; the manufacturer’s recommendation always wins over a general suggestion.
The Maintenance Log That Protects You Later
The parts of maintenance that homeowners skip aren’t always the ones that require a wrench. The maintenance log is the simplest habit in this entire guide, and it’s the one that pays off most reliably. It’s just a dated record of what you checked, what you lubricated, and what a technician did on each visit. Why does it matter? Two reasons.
First, warranty claims. Most opener and door manufacturers want proof that routine maintenance happened. If your LiftMaster or Chamberlain opener fails within its warranty window and you can produce a dated log showing the grease, the force tests, and the service calls, you have a much stronger case. A missing log hands the manufacturer an easy question: how was the equipment maintained?
Second, resale. A garage door is one of the first things a buyer and a home inspector examine. A dated log showing the door was lubricated, balanced, and inspected regularly is a selling point. It says the door was looked after, which matters to a buyer asking why the garage is in such good shape. It’s also a file you can hand to a new homeowner so they know what’s been done and what’s due.
Keep the log where you’ll actually use it. A clipboard on the garage wall works, and a note on your phone is fine too. Date each entry, list the task, and note who did it. If a technician does a spring repair or installs a new opener, keep the written invoice with the log. That paperwork lines up with the dated entries and tells the full story of the door.
When it comes time for a service visit, do a quick read-through of your log first. It tells the technician what’s been done and what’s due, which saves time and helps catch small issues before they become expensive ones. A log isn’t dramatic. It’s just the one habit that quietly protects every dollar you’ve put into the door.
Common Mistakes to Avoid
- Lubricating the tracks. Homeowners assume the tracks need grease because the door moves along them. They shouldn’t. Grease on the tracks collects grit and dust and turns the rollers into grinders. Wipe the tracks clean and leave them dry.
- Using WD-40 on the torsion spring. This is the classic mistake, and it’s a real one. WD-40 strips the factory lubricant off a tensioned spring and leaves the steel vulnerable. Use white lithium grease instead, and use it in the fall before the cold.
- Adjusting the force setting too aggressively. Cranking the opener’s force setting up to stop a stall is a common shortcut, and it defeats the safety reversal. If the door is binding, fix the cause rather than dialing up the force.
- Ignoring the bottom seal until winter. In Eldersburg a failing seal is cheap to replace in October and a drafty problem by January. Look at the bottom corners of the door specifically; they fail first and are easy to miss.
- Skipping the force test because the door “seems fine.” A door that runs smoothly can still fail to reverse on contact. The test takes 90 seconds and it’s the one check that has real safety consequences.
- Trying to touch the springs or cables. These parts are under extreme tension and a single wrong move is dangerous. Adjust, repair, or replace them only with a trained technician. No exceptions.
- Letting the tracks go out of alignment unnoticed. Tracks can be knocked out of position by a bump, a door coming off its rollers, or freeze-thaw in the concrete. A visually straight track isn’t always a correctly aligned track. Look at the gap between the roller wheels and the track edges, and look for any bend.
When to Call a Professional
Some tasks in this guide are safe to do yourself. Others aren’t, and knowing the difference is what keeps you safe. Call a professional if the door won’t balance (drifts down or up when released halfway), if the spring shows visible gap, rust, or stretched coils, if the cable is frayed or slack, if the bottom bracket or cable drum looks loose, if the opener reverses unpredictably, if the door is visibly tilted or off its rollers, or if a spring or cable has broken outright. All of that is high-tension territory, and a trained technician has the tools and the experience to handle it safely. Our technicians have up to 9 years of experience, and Garage Door Repair Eldersburg offers free estimates in Eldersburg. Call (877) 704-0356 and we’ll book a visit; the price is agreed in writing before any work starts.
Frequently Asked Questions
A garage door in Eldersburg should get a full maintenance round once a year, ideally in the fall before the first hard freeze, with a quick visual check after the spring thaw. Fall lubrication and the force test matter most because they set the door up for the cold months. A door that cycles many times a day in a busy household benefits from a light mid-summer check as well. If the door is older or shows wear, a professional can recommend a schedule tuned to your specific door.
Light lubrication of the visible spring coils with white lithium grease is a homeowner task if you’re careful. What’s never safe is adjusting, removing, or touching a spring under tension. The spring stores a lot of energy, and a wrong move can cause serious injury. Never use WD-40 on a spring; it strips the factory lubricant. If a spring shows a gap, rust, or stretching, stop and call a professional to assess the spring repair.
The force test checks that the opener will reverse when the door meets resistance on the way down. Clear the doorway, run the door closed, and push gently upward on the bottom edge; the door should reverse immediately. If it keeps pressing down, the force setting is too high or the opener needs service. This is the most important safety check on the door, and it only takes about 90 seconds. If it fails repeatedly, book a service visit. Call (877) 704-0356 and estimates are free.
Cold weather thickens grease and contracts metal, which makes a garage door a bit louder in winter even when it’s healthy. A door that suddenly becomes much louder, or develops a new grind or thump, is usually telling you something is dry, loose, or worn. Fall lubrication applied before the first freeze prevents most of it. If the noise is accompanied by stalling, a tilt, or a failure to reverse, that’s a call to a professional.
You can, but you give up a real protection. A dated log of what was lubricated, checked, and serviced is your evidence during a warranty claim and a plus during a resale inspection. A buyer wants to know the door was looked after, and a manufacturer wants proof of maintenance. A clipboard on the garage wall or a note on your phone takes seconds to update and pays off when you need it.
Maintenance and repair costs in Eldersburg depend on what the door needs: lubrication and a tune-up are on the low end, a spring or opener replacement is higher, and the price varies by door size and hardware. We set the price per job by a written estimate, and the estimate is free. Call (877) 704-0356, and the written estimate is agreed before any work starts. We answer 24/7, with fast dispatch from 7am to 7pm, Sunday through Friday.
The Bottom Line
A maintenance checklist works when it’s timed to the conditions that actually stress your door, and in Eldersburg that means a fall lubrication window, a winter watch on freeze-thaw and weatherstrip, a spring balance and moisture check, and a summer look at rollers and rust. The five parts most people skip (cable drums, bottom bracket bolts, torsion spring set screws, roller stems, and weatherstrip corners) are worth a sticky note on the garage wall. Run the force test every season. Use the right lubricant on the right part. Keep a dated log. And leave the springs, cables, and bottom bracket to a trained technician. We work on your brand, from LiftMaster and Chamberlain openers to Clopay and Amarr doors, and we can handle repair through full installation.
When your garage door stops, so does your day. Call (877) 704-0356 for a free estimate. We answer 24/7, with fast dispatch from 7am to 7pm, Sunday through Friday.
Written by the team at Garage Door Repair Eldersburg.
See the difference
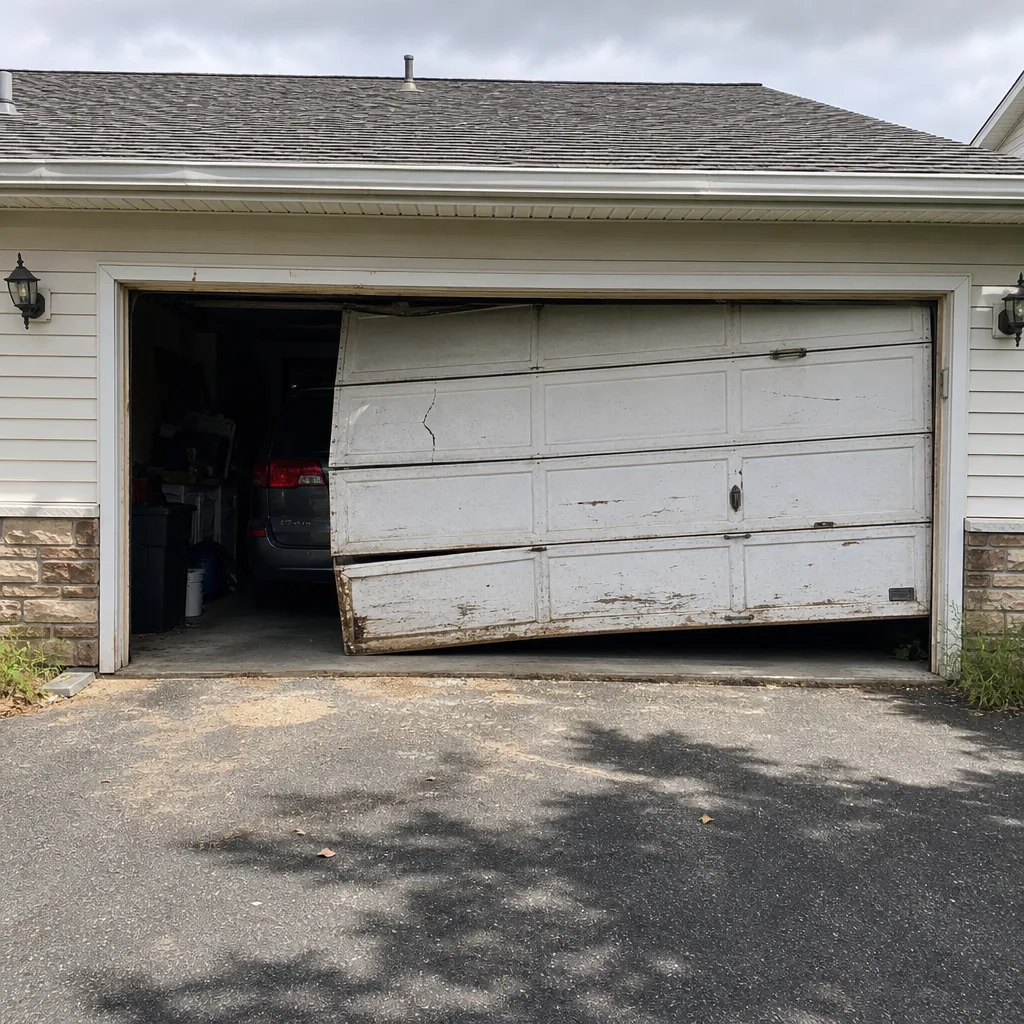 Before
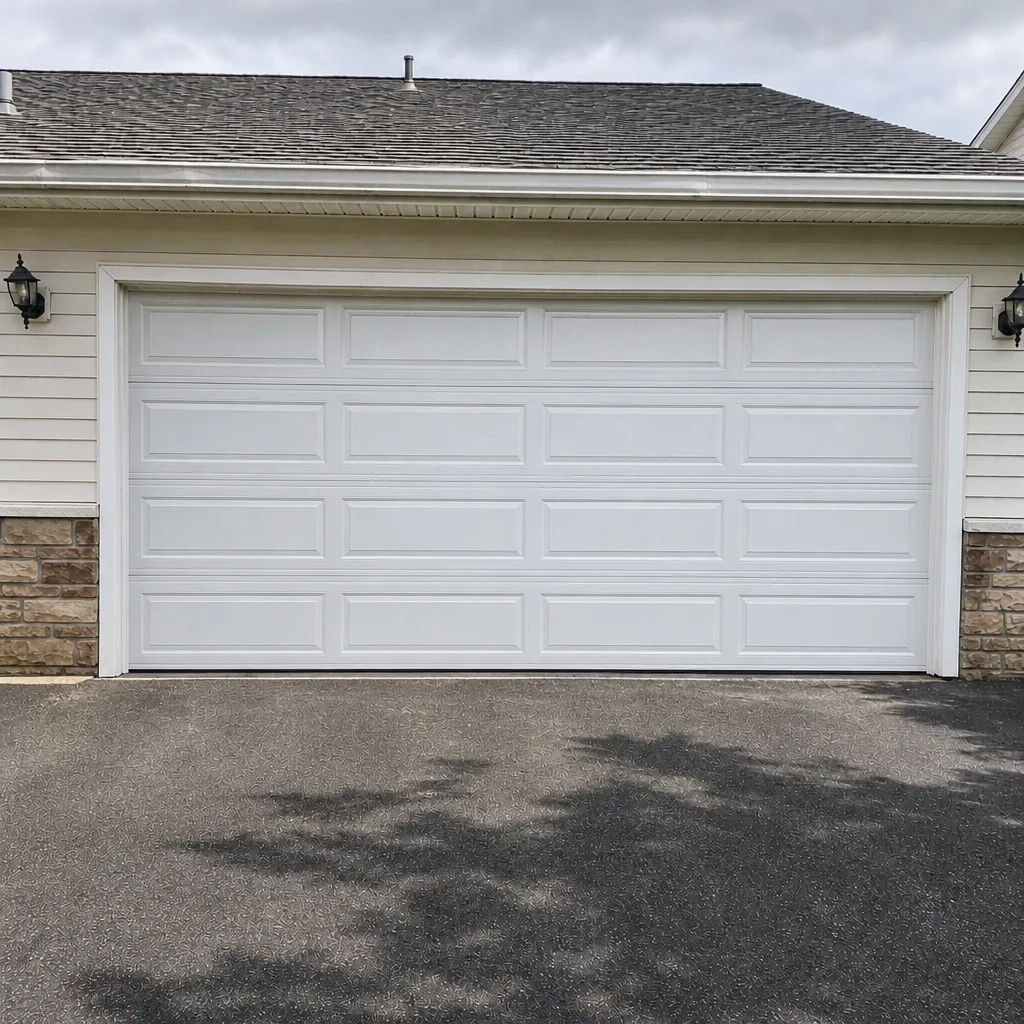 After
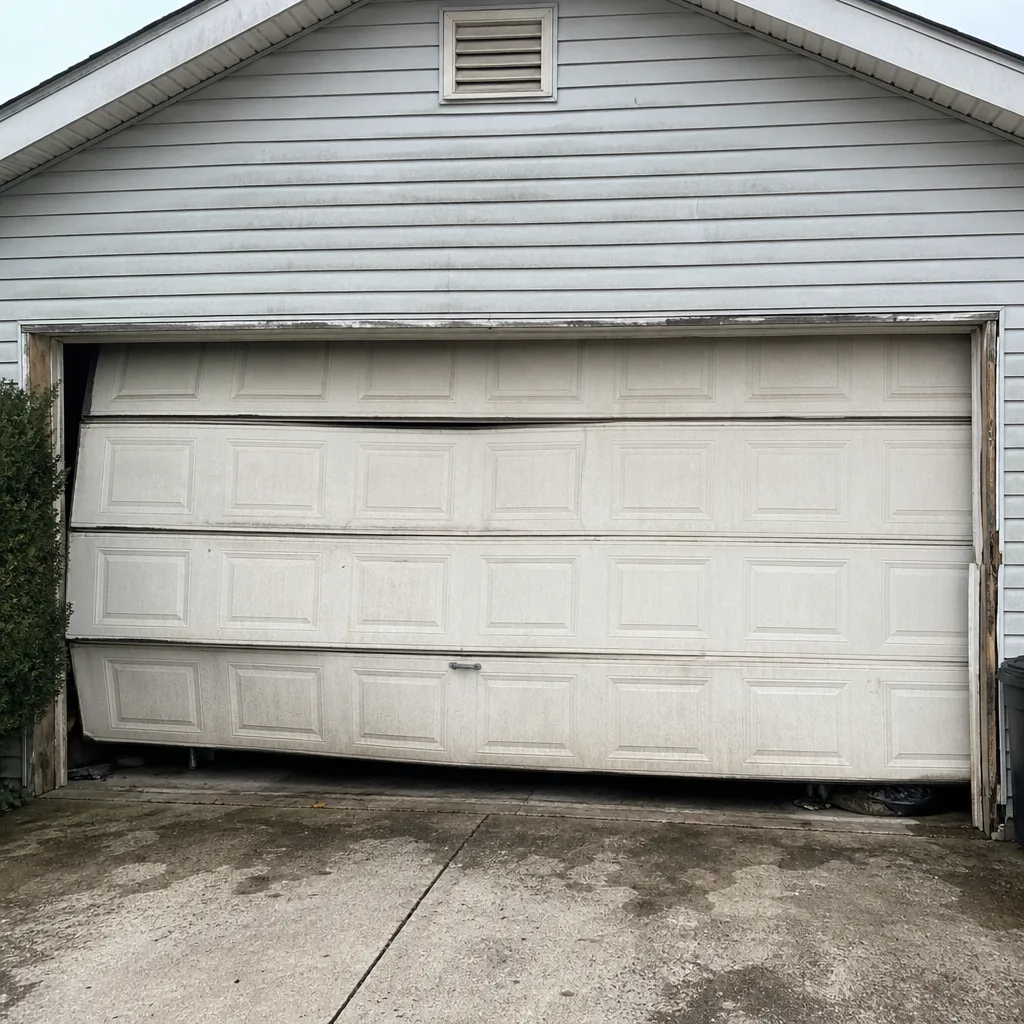 Before
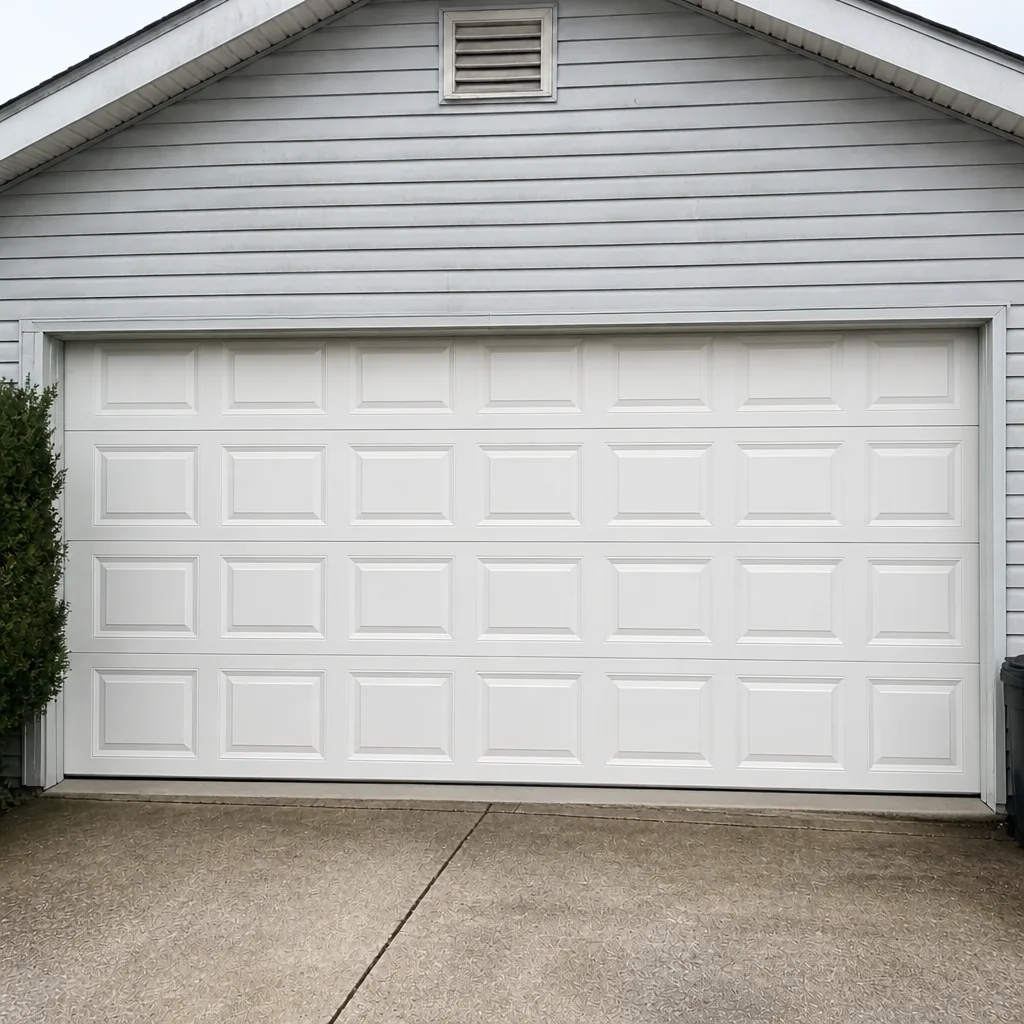 After
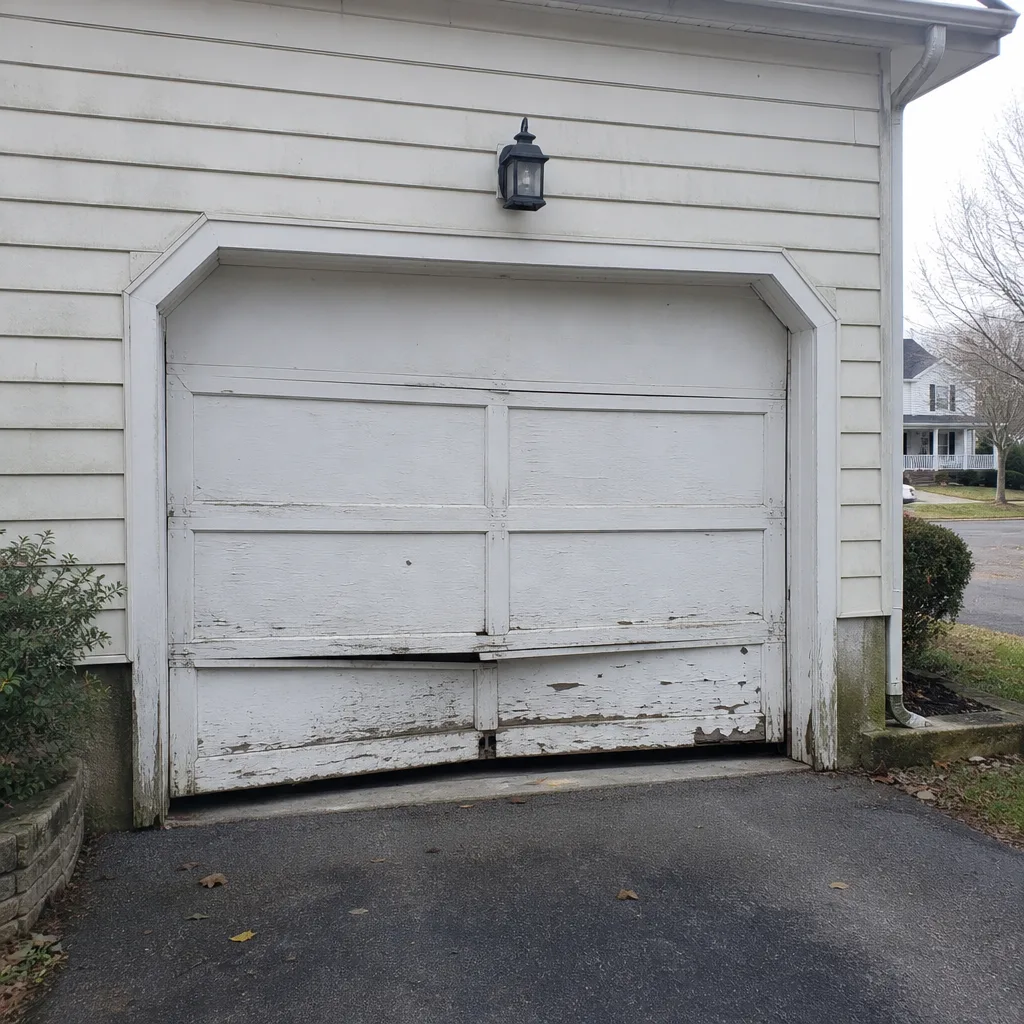 Before
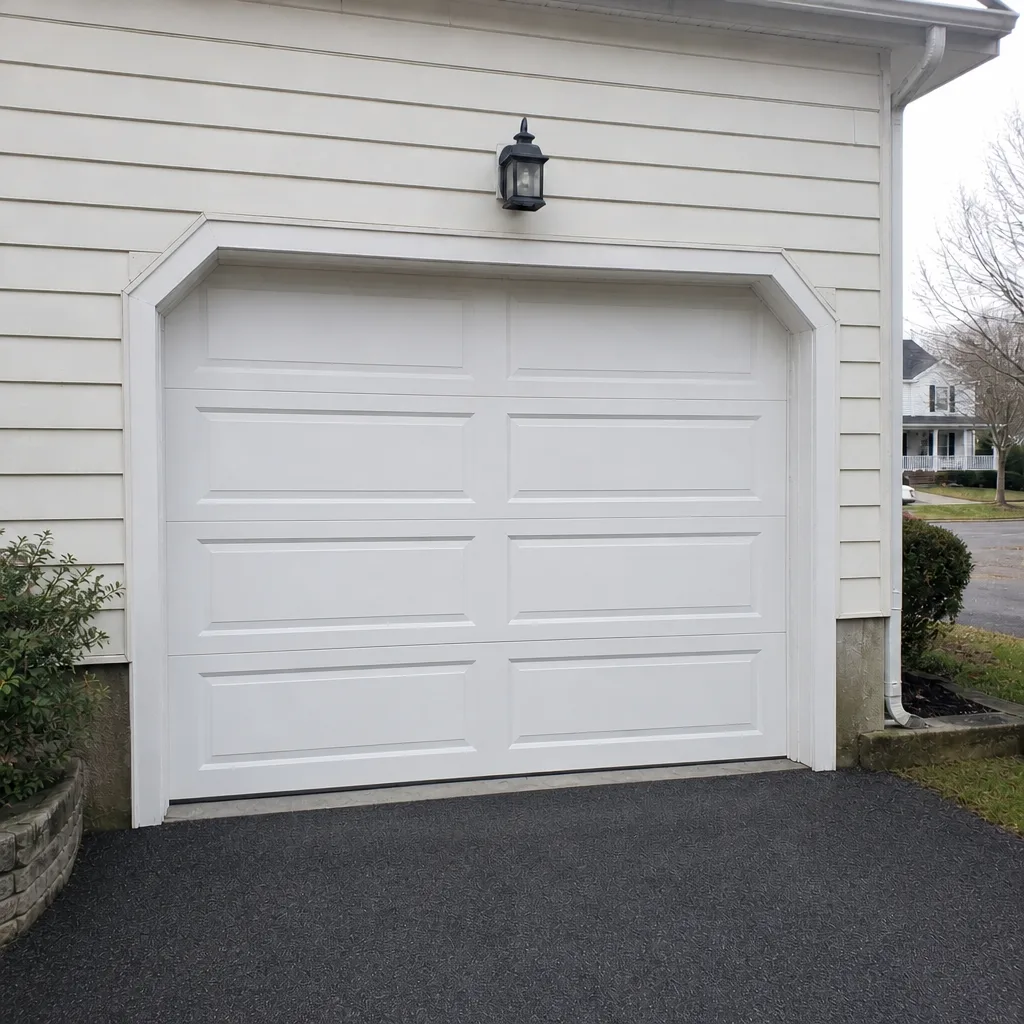 After